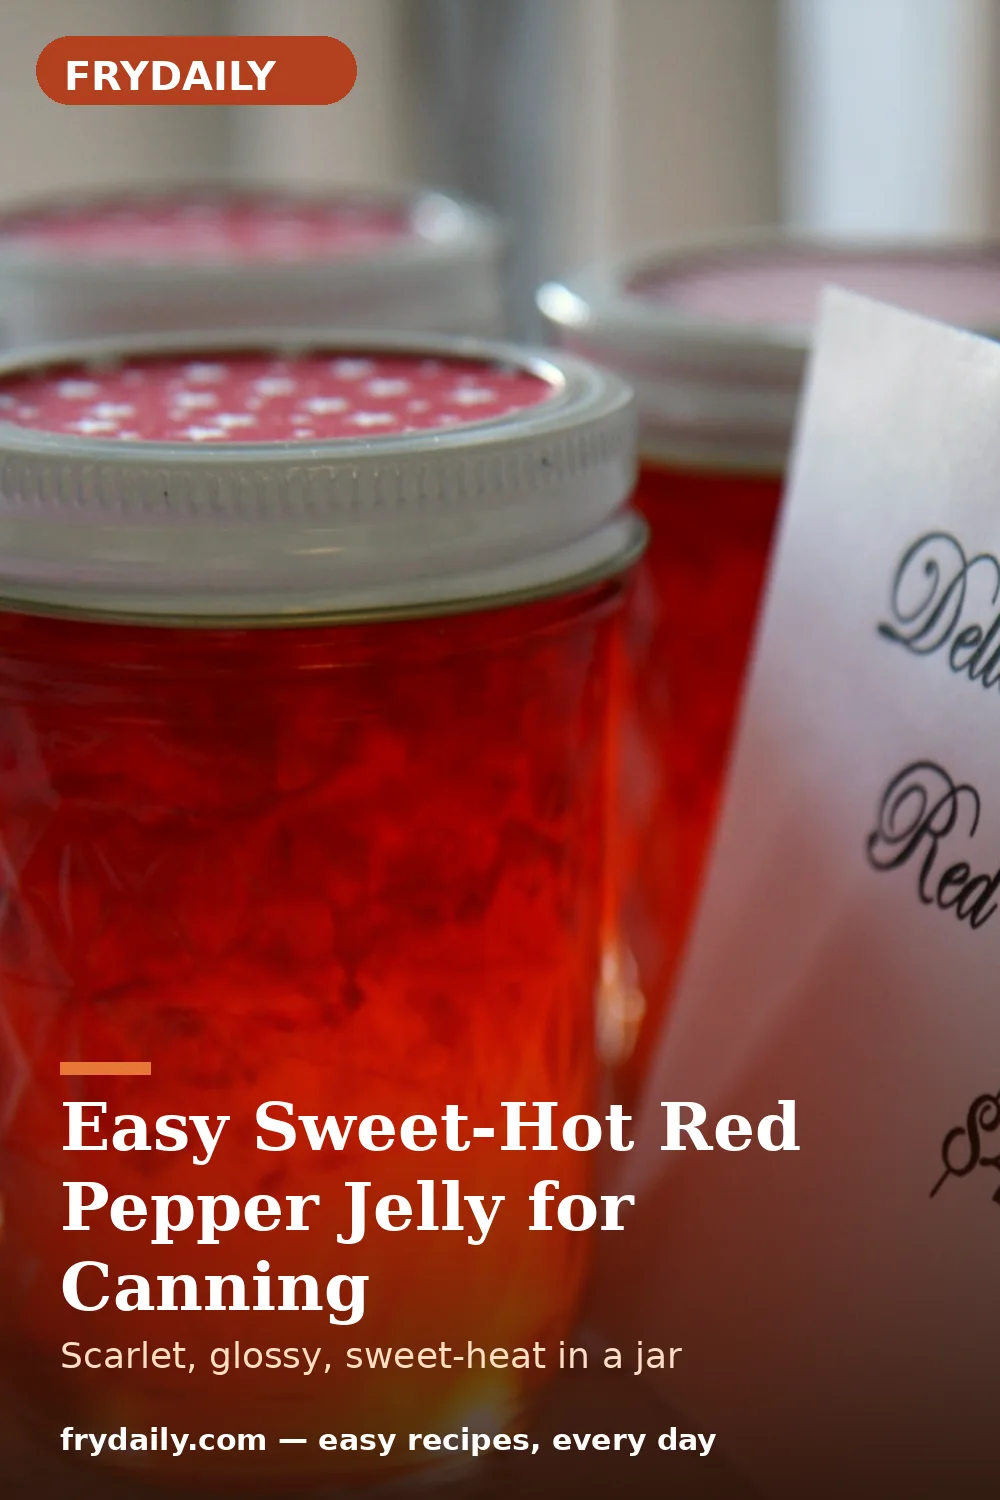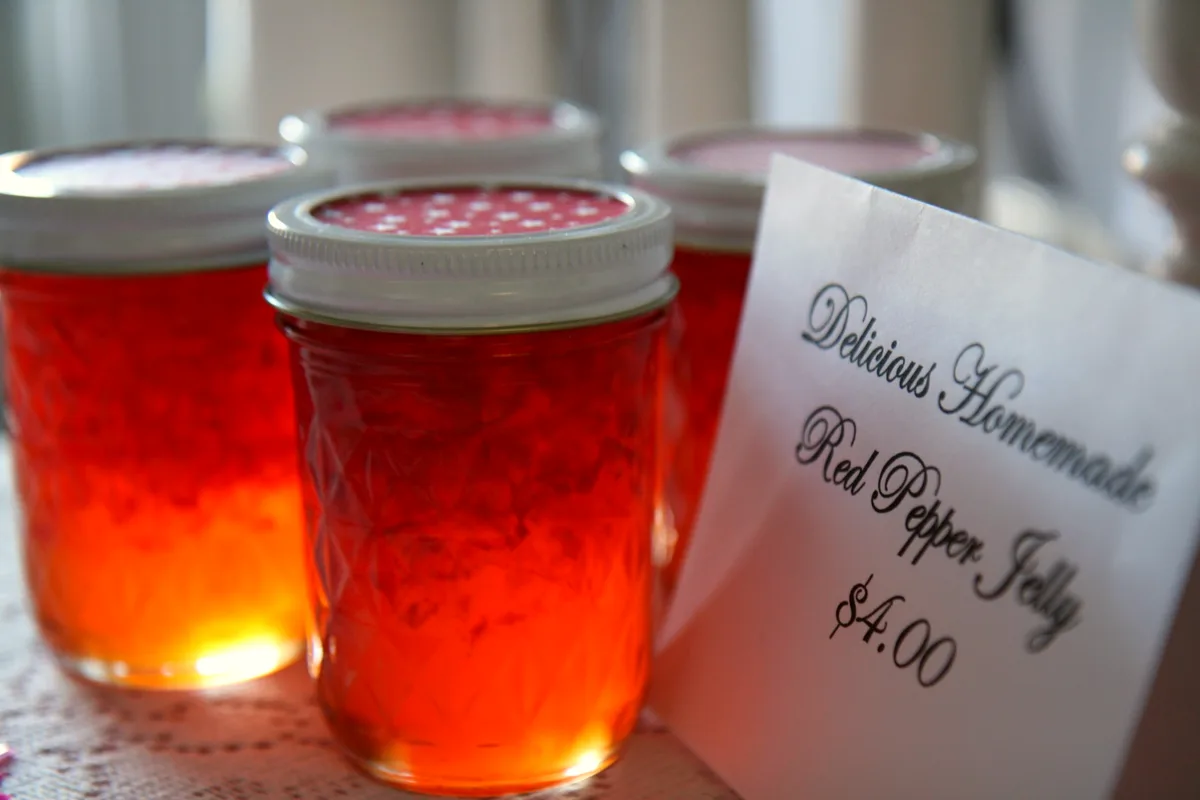
Late October is when the canning pot earns its keep for the holidays, and red pepper jelly is the jar that disappears fastest from every pantry. It glows scarlet in the glass, studded with flecks of red pepper, and it tastes the way it looks: sweet up front, with a slow, friendly warmth arriving a few seconds later. One afternoon fills six half-pint jars, and those jars make the easiest holiday gifts you will give.
This is a safe, tested-style water-bath recipe because the acidity does the heavy lifting. Distilled white vinegar at 5% acidity plus all that sugar is the environment where jelly sets reliably and processes safely, which makes hot pepper jelly one of the most forgiving preserves a beginner can make. Liquid pectin goes in at the end and needs exactly one hard rolling boil — no more, no less — and the jelly firms as it cools. It sits in our Canning and Preserving collection next to our whole berry cranberry sauce, the other holiday-season must-jar.
Serving it is the easiest part. The classic is a brick of cream cheese with a generous spoonful of jelly poured over, surrounded by crackers — sweet, hot, creamy, crunchy, and gone in minutes at any gathering. Beyond that it glazes wings and meatballs, sharpens barbecue sauce by the spoonful, and anchors a charcuterie board.
The dice that keeps the flecks floating
Cut the bell peppers into a true fine dice, about a quarter inch, and mince the jalapeños to match. Even, small pieces stay suspended as the jelly sets; coarse chunks sink and the top half looks like plain red gel. Take the extra five minutes with a sharp knife — it is the visible difference between homemade-good and store-bought-beautiful. Wear disposable gloves for the jalapeños and keep your hands away from your eyes; the heat lives in the membranes and seeds, and it lingers on skin.
Processing times and altitude
The ten-minute water bath below is for sea level to 1,000 feet. Add 5 minutes for 1,000 to 3,000 feet, 10 minutes for 3,000 to 6,000 feet, and 15 minutes above 6,000 feet — standard USDA altitude adjustments, and the one variable no recipe can know for you. Keep the water at a full rolling boil the whole process time; if it drops, restart the timer. Rest the processed jars in the turned-off water for 5 minutes, then cool undisturbed for a full 24 hours before testing seals.
Ingredients
- 2 1/2 cups red bell peppers, seeded and finely diced (375 g)
- 3 large jalapeño peppers (90 g), seeded and minced — wear gloves
- 1 1/2 cups distilled white vinegar (360 ml), 5% acidity
- 7 cups granulated sugar (1.4 kg)
- 2 (3 oz) pouches liquid fruit pectin
- 1/2 teaspoon red pepper flakes (1 g), optional for extra heat
Amounts are for the yield below. US customary measures first, grams in brackets for scale users.
Step-by-step instructions
- Sterilize and hold the jars. Wash six half-pint jars, lids and bands in hot soapy water and rinse well. Keep the jars hot in simmering water or a hot dishwasher cycle — hot jelly into cold jars risks thermal shock. Set the lids in warm (not boiling) water to soften the sealing compound, and keep the bands within reach.
- Dice the peppers fine. Seed the bell peppers and cut them into a fine, even dice about 1/4 inch — that is what keeps the flecks suspended instead of sinking. Halve the jalapeños, scrape out the seeds and membranes, and mince to match. Wearing gloves, combine the peppers, vinegar and optional red pepper flakes in a heavy 5-quart pot.
- Build the sweet-hot base. Stir in the sugar over medium-high heat until it dissolves. Bring to a full rolling boil, stirring often so the sugar does not scorch. The pot should look like red confetti in syrup.
- Add the pectin and boil hard. Squeeze in both pouches of liquid pectin and stir constantly. Bring the jelly back to a hard rolling boil — one that cannot be stirred down — and boil for exactly 1 minute. That precise minute is what sets the jelly; shorter stays syrupy, longer can turn it cloudy. Remove from the heat and skim off any foam.
- Fill and seal. Ladle the hot jelly into the hot jars, leaving 1/4 inch of headspace. Wipe each rim with a clean damp cloth — one smear of jelly on the rim is the most common cause of a failed seal. Center the lids and screw the bands on fingertip-tight: firm, not cranked down.
- Water-bath process and cool. Process the jars in a boiling water bath for 10 minutes, adjusting for altitude as noted above, with at least an inch of water over the lids. Turn off the heat, rest the jars in the water for 5 minutes, then lift them straight up onto a towel. Cool undisturbed for 24 hours. Press each lid center — it should not flex. Remove the bands, wipe the jars, label and date them. Any jar that did not seal goes straight to the refrigerator and should be used within 3 weeks. Nutrition figures are estimates from standard ingredient data and vary with brands and substitutions.
Nutrition estimate
| Nutrient | Per serving |
|---|---|
| Calories | 48 kcal |
| Carbohydrates | 12 g |
| Sugar | 11 g |
| Sodium | 1 mg |
| Fat | 0 g |
Nutrition figures are estimates calculated from standard ingredient data for the yield stated. Your actual values will vary with brands, substitutions and portion sizes — treat them as a guide, not a guarantee.
Storage & reheating
Store sealed jars in a cool, dark place up to 1 year. Once opened, refrigerate and use within 3 weeks; unsealed jars go straight to the refrigerator too. Discard any jar whose lid bulges, leaks or smells off. Nutrition figures are estimates from standard ingredient data and vary with brands and substitutions.
Canning safety — read first
Home canning must follow tested processes exactly. The times on this page follow the structure of current USDA guidance for the stated jar size at 0-1,000 feet elevation; always confirm processing times and altitude adjustments in the USDA Complete Guide to Home Canning or the National Center for Home Food Preservation before you start. Never taste food from a jar with a failed seal, bulging lid or off odor — discard it.
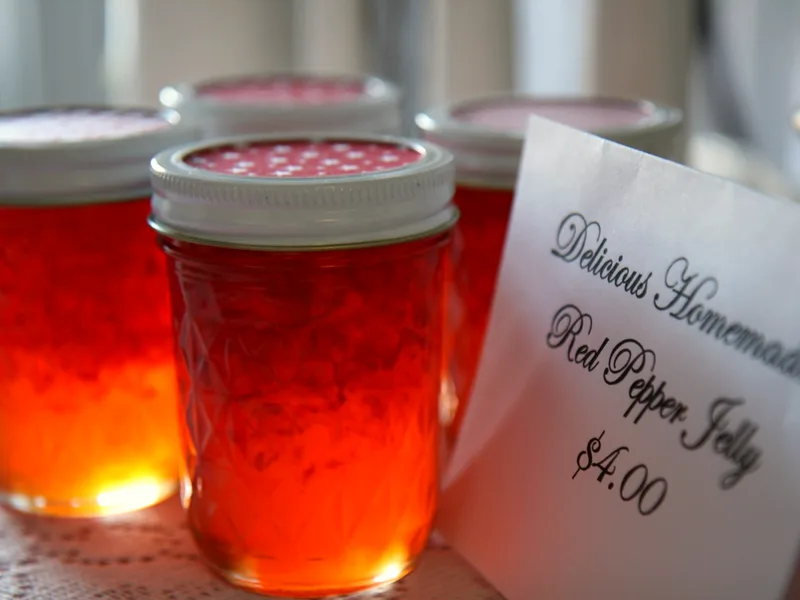
Easy Sweet-Hot Red Pepper Jelly for Canning
Scarlet, glossy and sweet with a slow-building warmth — the holiday gift jar everyone asks for.
Ingredients
Tick ingredients off as you prep, and tap a step below to mark it done as you cook. Scaling adjusts the listed amounts - seasoning to taste stays your call.
Instructions
- Sterilize and hold the jars. Wash six half-pint jars, lids and bands in hot soapy water and rinse well. Keep the jars hot in simmering water or a hot dishwasher cycle — hot jelly into cold jars risks thermal shock. Set the lids in warm (not boiling) water to soften the sealing compound, and keep the bands within reach.
- Dice the peppers fine. Seed the bell peppers and cut them into a fine, even dice about 1/4 inch — that is what keeps the flecks suspended instead of sinking. Halve the jalapeños, scrape out the seeds and membranes, and mince to match. Wearing gloves, combine the peppers, vinegar and optional red pepper flakes in a heavy 5-quart pot.
- Build the sweet-hot base. Stir in the sugar over medium-high heat until it dissolves. Bring to a full rolling boil, stirring often so the sugar does not scorch. The pot should look like red confetti in syrup.
- Add the pectin and boil hard. Squeeze in both pouches of liquid pectin and stir constantly. Bring the jelly back to a hard rolling boil — one that cannot be stirred down — and boil for exactly 1 minute. That precise minute is what sets the jelly; shorter stays syrupy, longer can turn it cloudy. Remove from the heat and skim off any foam.
- Fill and seal. Ladle the hot jelly into the hot jars, leaving 1/4 inch of headspace. Wipe each rim with a clean damp cloth — one smear of jelly on the rim is the most common cause of a failed seal. Center the lids and screw the bands on fingertip-tight: firm, not cranked down.
- Water-bath process and cool. Process the jars in a boiling water bath for 10 minutes, adjusting for altitude as noted above, with at least an inch of water over the lids. Turn off the heat, rest the jars in the water for 5 minutes, then lift them straight up onto a towel. Cool undisturbed for 24 hours. Press each lid center — it should not flex. Remove the bands, wipe the jars, label and date them. Any jar that did not seal goes straight to the refrigerator and should be used within 3 weeks. Nutrition figures are estimates from standard ingredient data and vary with brands and substitutions.
Recipe by Ahsan ul Haq · FryDaily. Printing? This card is designed to print cleanly on its own.