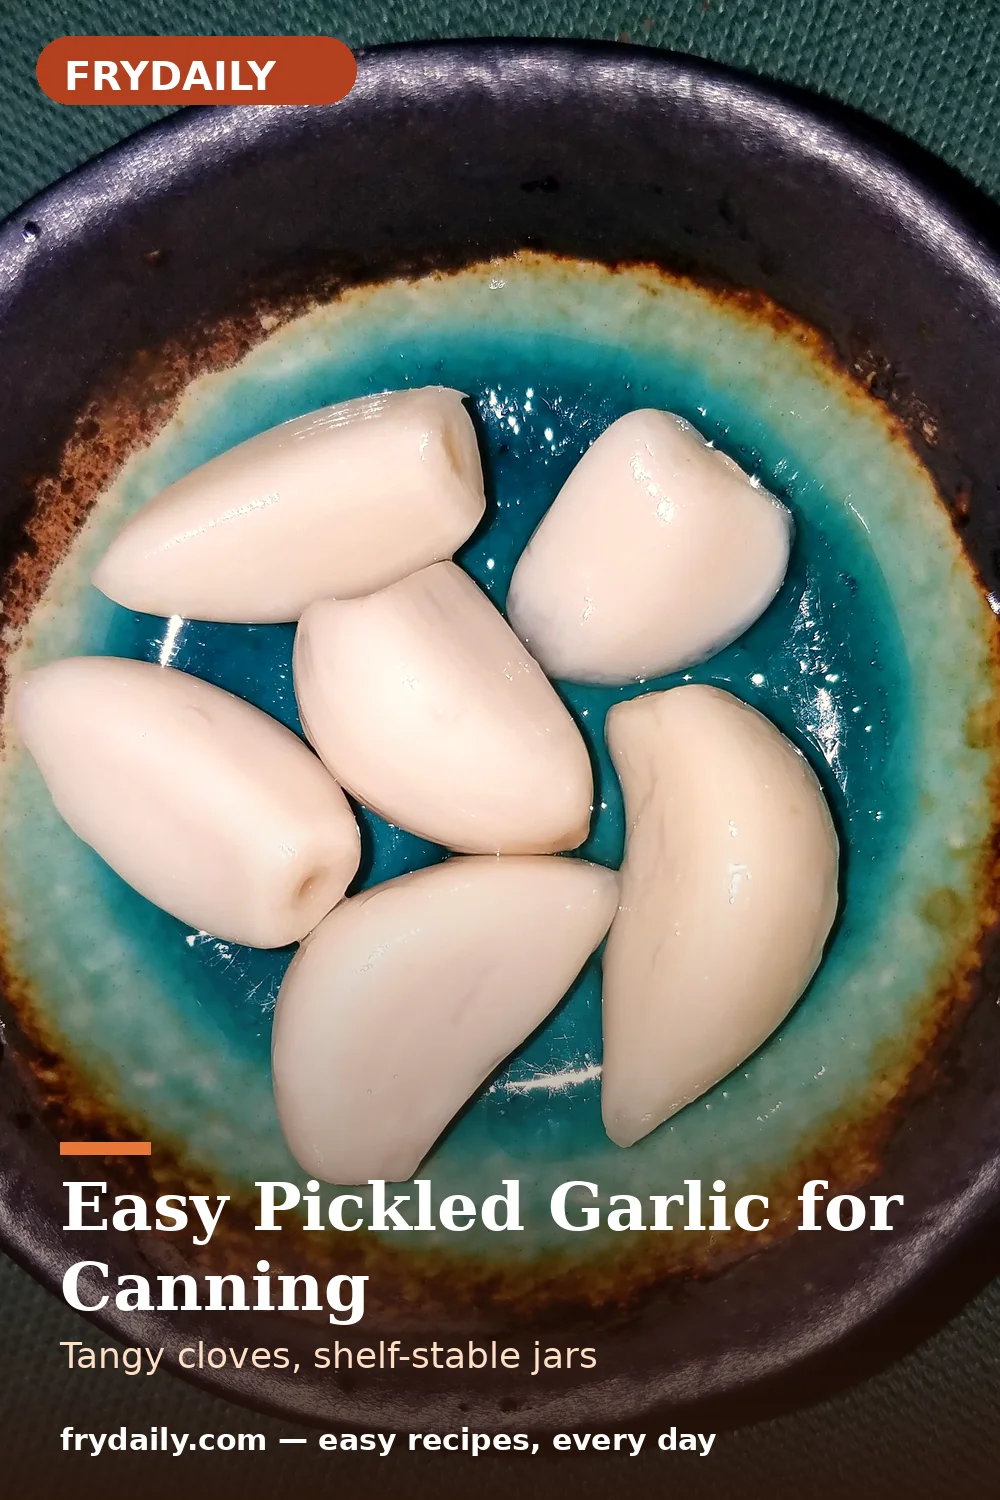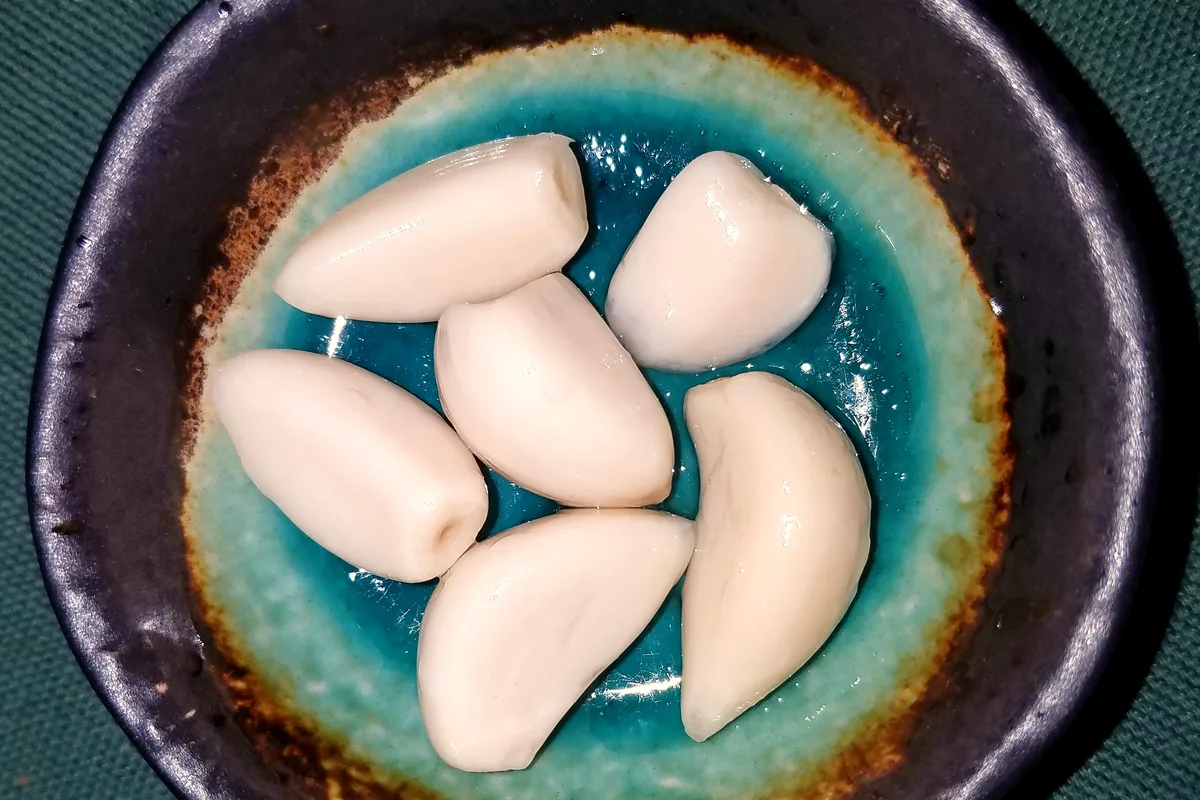
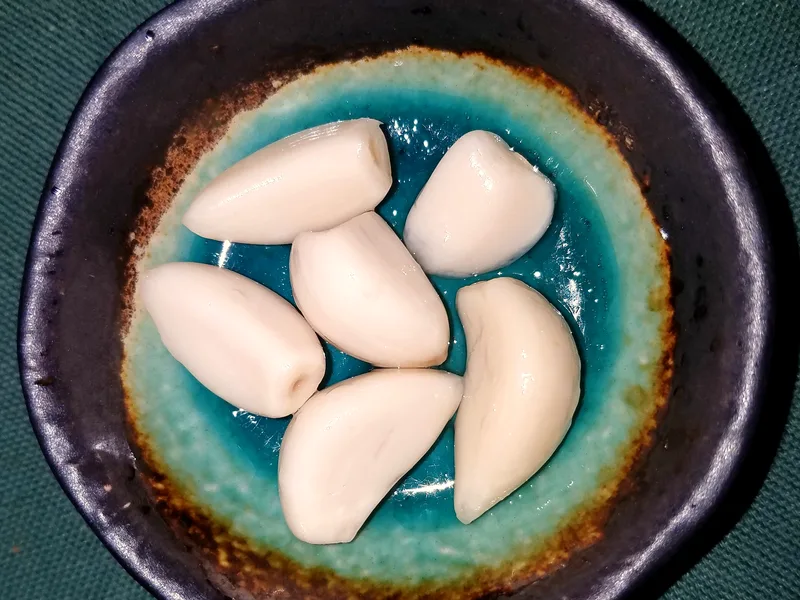
A jar of pickled garlic is one of the quietest luxuries in a winter pantry. The cloves come out plump and pale, tangy right through, with the raw bite gone and a mellow warmth left in its place — exactly the six glossy cloves in the photograph, ready for a cheese board, a salad, or straight from the jar while you cook. They keep on a shelf for a year, cost almost nothing, and make an ordinary supper taste considered.
The method is simple on purpose: a quick blanch, a hot vinegar brine, and a short water bath. A one-minute blanch keeps the cloves firm instead of mushy and loosens any last papery skin. The brine is mostly vinegar on purpose — garlic is a low-acid food, so the vinegar is what makes the jar safe at room temperature, and it must never be reduced or swapped for oil. A few peppercorns, a chili and a sprig of thyme in each jar do the seasoning; the garlic does the rest as it cures.
It sits in our Canning & Preserving collection next to our spiced apple butter, another small-batch preserve built for the autumn pantry, and our refrigerator dill pickle spears for cooks who want the same tangy crunch without the water bath. Make it now, while garlic is cheap and plentiful, and by holiday cooking season you will have jars to give away — and one to keep.
Blanching is the whole trick
Raw garlic packed straight into brine stays harsh for months; garlic cooked too long turns soft and grey. Sixty seconds in boiling water is the middle path: it takes the raw edge off, firms the clove, and makes peeling the last skins almost effortless. Set a timer, and get the cloves into the jars while still hot. Hot cloves, hot brine, hot jars: that is the rhythm of safe water-bath canning, and it is what gives you a clean seal.
Never can garlic in oil
This is the one rule that matters most. Garlic stored in oil at room temperature can grow the bacteria that causes botulism, because oil seals out air without adding acidity. That is why this recipe uses a vinegar brine and a boiling-water bath — never pour oil into these jars or store leftover cloves in oil on the counter. If a jar fails to seal, just refrigerate it and eat it first.
Ingredients
- 2 lb garlic heads (900 g), peeled into whole cloves
- 2 cups white distilled vinegar, 5% acidity (480 ml)
- 1 cup water (240 ml)
- 1 tablespoon pickling salt (18 g)
- 1 tablespoon granulated sugar (12 g)
- 1 teaspoon black peppercorns (2 g)
- 4 small dried red chilies (1 per jar, optional)
- 4 sprigs fresh thyme (1 per jar)
- 4 bay leaves (1 per jar)
Amounts are for the yield below. US customary measures first, grams in brackets for scale users.
Step-by-step instructions
- Peel and blanch the garlic. Break the heads apart and peel every clove, trimming bruised or green-spotted ones, until you have about 4 cups of plump, whole cloves. Bring a large pot of water to a rolling boil, add the cloves and blanch for exactly 1 minute, then lift them out with a slotted spoon and set aside. Keep the water boiling for the water bath later.
- Prepare the jars and canner. Wash 4 half-pint jars, lids and bands in hot soapy water. Keep the jars hot in the simmering water or a warm oven until you fill them; cold jars and boiling brine are how jars crack. Warm the lids in barely simmering water, never boiling. Fit a rack in the bottom of your large pot and make sure the water is deep enough to cover the jars by at least 1 inch once they go in.
- Make the brine. In a saucepan, combine the vinegar, water, pickling salt and sugar. Bring to a boil over medium-high heat, stirring until the salt and sugar dissolve completely. Keep the brine boiling while you pack — it must go in hot. It should taste sharply vinegary, not mild. Do not reduce the vinegar or add extra water; the acidity is what makes these jars shelf-stable.
- Pack the jars. Divide the peppercorns among the hot jars, then add 1 chili, 1 thyme sprig and 1 bay leaf to each jar if using. Pack the blanched cloves in snugly, without crushing, leaving 1/2 inch of headspace. Ladle boiling brine over the cloves to the same headspace, then run a clean chopstick around the inside of each jar to release trapped air. Wipe the rims spotlessly clean with a damp cloth, set the lids on, and screw the bands on fingertip-tight — firm, but not forced.
- Process in the water bath. Lower the jars onto the rack, upright and not touching. The water must cover them by at least 1 inch; add boiling water if needed. Bring back to a full rolling boil, then process half-pint jars for 10 minutes. If you live above 1,000 feet, add 5 minutes for altitudes up to 6,000 feet and 10 minutes above that. When time is up, turn off the heat, wait 5 minutes, then lift the jars straight up onto a towel away from draughts.
- Cool, check seals and cure. Leave the jars undisturbed for 12 to 24 hours, then press the centre of each lid: sealed lids are firm, slightly concave, and do not pop back. Remove the bands, wipe and label the jars, and store in a cool, dark place. Any jar that did not seal goes straight into the refrigerator and gets eaten first. Wait at least 4 weeks — 6 is better — before opening a sealed jar, so the brine works through the cloves. The photograph shows the reward: pale, plump, tangy cloves, ready to serve.
Nutrition estimate
| Nutrient | Per serving |
|---|---|
| Calories | 20 kcal |
| Protein | 1 g |
| Carbohydrates | 4 g |
| Fat | 0 g |
| Saturated fat | 0 g |
| Sodium | 280 mg |
| Fiber | 0 g |
| Sugar | 1 g |
Nutrition figures are estimates calculated from standard ingredient data for the yield stated. Your actual values will vary with brands, substitutions and portion sizes — treat them as a guide, not a guarantee.
Storage & reheating
Sealed jars keep in a cool, dark place for up to 1 year; once opened, refrigerate and use within 3 months. Unsealed jars must be refrigerated from the start and used within 3 months. The cloves are at their best between 6 weeks and 6 months, when the tang has mellowed but the clove still has bite. Serve them as they are, chop them into dressings, mash into butter for bread, or drop whole into sauces and stews. Nutrition figures are estimates per serving and vary with the brine absorbed; estimates vary.
Canning safety — read first
Home canning must follow tested processes exactly. The times on this page follow the structure of current USDA guidance for the stated jar size at 0-1,000 feet elevation; always confirm processing times and altitude adjustments in the USDA Complete Guide to Home Canning or the National Center for Home Food Preservation before you start. Never taste food from a jar with a failed seal, bulging lid or off odor — discard it.
Easy Pickled Garlic for Canning
Tangy cloves, shelf-stable jars
Ingredients
Tick ingredients off as you prep, and tap a step below to mark it done as you cook. Scaling adjusts the listed amounts - seasoning to taste stays your call.
Instructions
- Peel and blanch the garlic. Break the heads apart and peel every clove, trimming bruised or green-spotted ones, until you have about 4 cups of plump, whole cloves. Bring a large pot of water to a rolling boil, add the cloves and blanch for exactly 1 minute, then lift them out with a slotted spoon and set aside. Keep the water boiling for the water bath later.
- Prepare the jars and canner. Wash 4 half-pint jars, lids and bands in hot soapy water. Keep the jars hot in the simmering water or a warm oven until you fill them; cold jars and boiling brine are how jars crack. Warm the lids in barely simmering water, never boiling. Fit a rack in the bottom of your large pot and make sure the water is deep enough to cover the jars by at least 1 inch once they go in.
- Make the brine. In a saucepan, combine the vinegar, water, pickling salt and sugar. Bring to a boil over medium-high heat, stirring until the salt and sugar dissolve completely. Keep the brine boiling while you pack — it must go in hot. It should taste sharply vinegary, not mild. Do not reduce the vinegar or add extra water; the acidity is what makes these jars shelf-stable.
- Pack the jars. Divide the peppercorns among the hot jars, then add 1 chili, 1 thyme sprig and 1 bay leaf to each jar if using. Pack the blanched cloves in snugly, without crushing, leaving 1/2 inch of headspace. Ladle boiling brine over the cloves to the same headspace, then run a clean chopstick around the inside of each jar to release trapped air. Wipe the rims spotlessly clean with a damp cloth, set the lids on, and screw the bands on fingertip-tight — firm, but not forced.
- Process in the water bath. Lower the jars onto the rack, upright and not touching. The water must cover them by at least 1 inch; add boiling water if needed. Bring back to a full rolling boil, then process half-pint jars for 10 minutes. If you live above 1,000 feet, add 5 minutes for altitudes up to 6,000 feet and 10 minutes above that. When time is up, turn off the heat, wait 5 minutes, then lift the jars straight up onto a towel away from draughts.
- Cool, check seals and cure. Leave the jars undisturbed for 12 to 24 hours, then press the centre of each lid: sealed lids are firm, slightly concave, and do not pop back. Remove the bands, wipe and label the jars, and store in a cool, dark place. Any jar that did not seal goes straight into the refrigerator and gets eaten first. Wait at least 4 weeks — 6 is better — before opening a sealed jar, so the brine works through the cloves. The photograph shows the reward: pale, plump, tangy cloves, ready to serve.
Recipe by Ahsan ul Haq · FryDaily. Printing? This card is designed to print cleanly on its own.