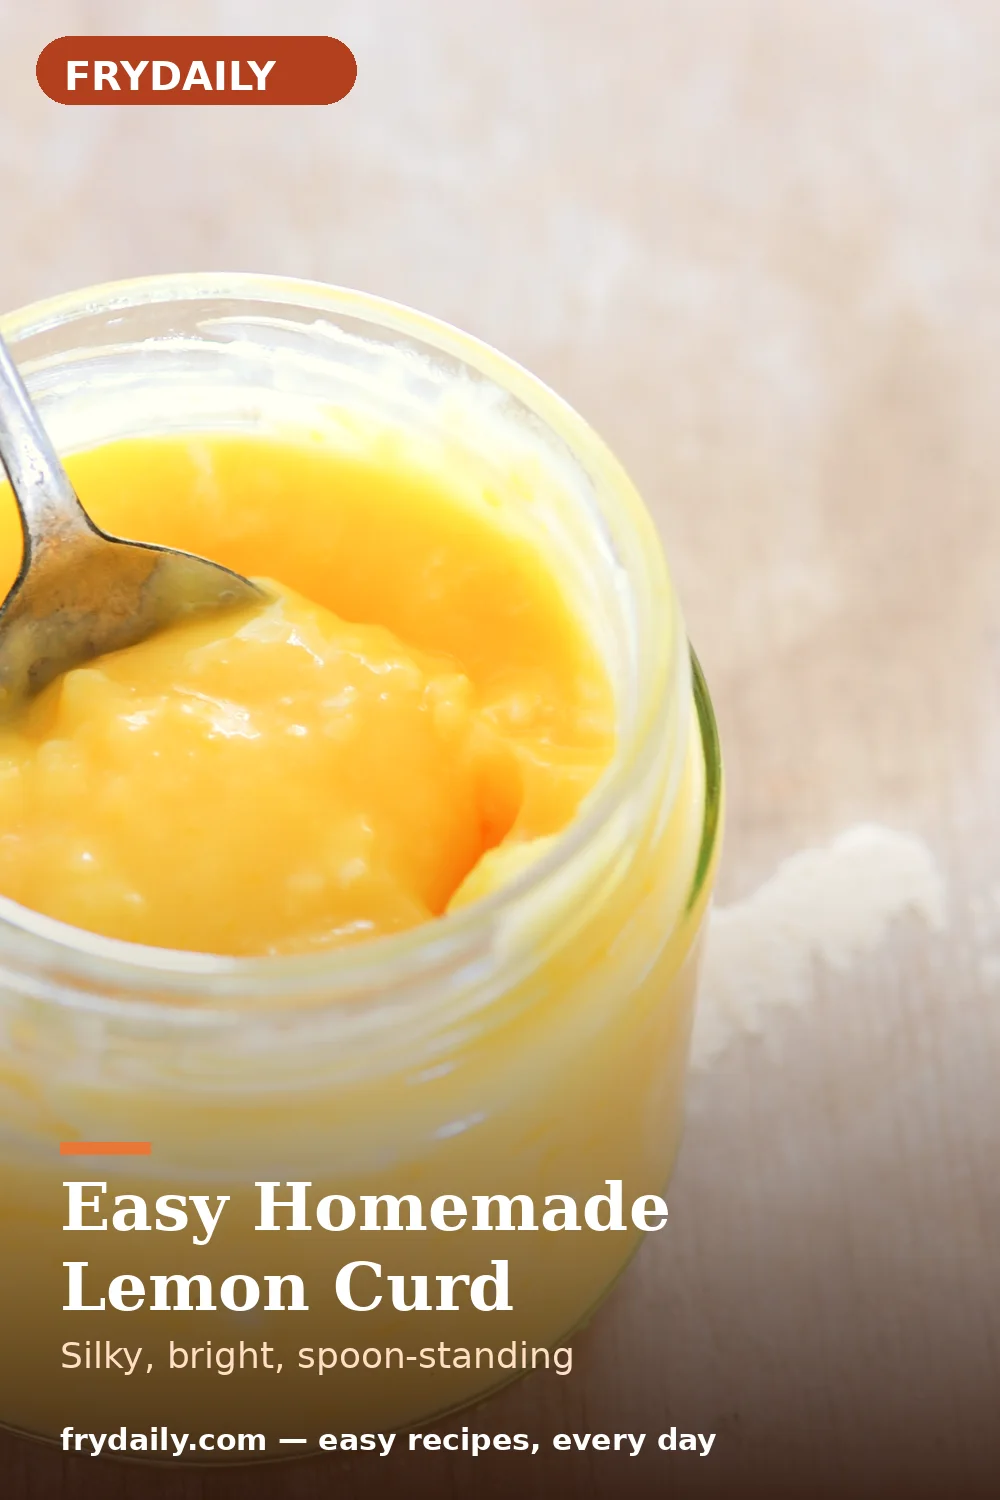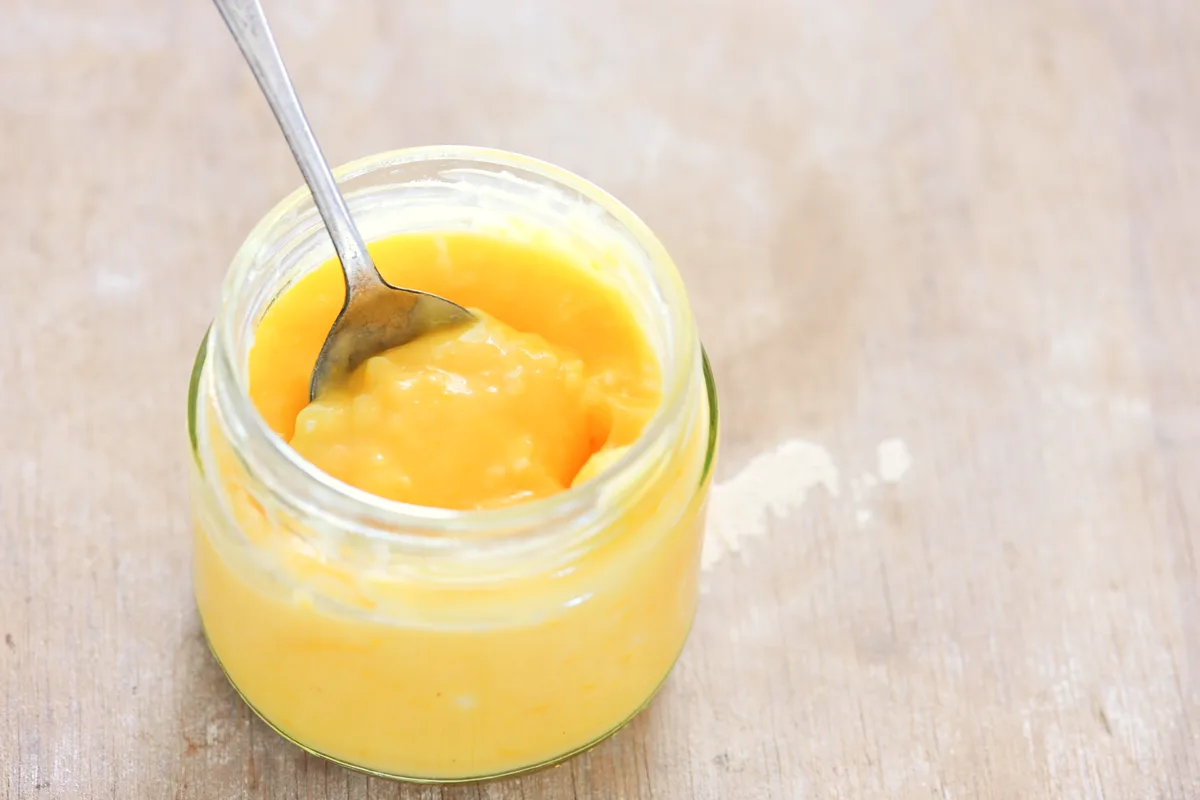
Lemon curd is the brightest thing that ever came out of a jar: a silky, spoon-standing spread that tastes like concentrated sunshine and turns toast, yogurt, pancakes and plain cake into an event. It is also far easier than its fancy reputation suggests — eggs, lemons, sugar and butter, one pan, gentle heat, and fifteen attentive minutes. The photograph is the honest target: a thick, glossy curd that holds a spoon's shape and pours like slow honey.
It lives in our Canning & Preserving collection as a refrigerator preserve, and this needs saying plainly at the top, the way the category deserves: lemon curd is NOT a shelf-canning recipe. The butter and eggs that make it wonderful also make it perishable, so this version is jarred for the refrigerator and freezer, where it keeps beautifully — the same honest labelling we use for our refrigerator pickles. For a shelf-stable jar from this kitchen, make our Blueberry Jam instead.
Keep a jar where you can see it: folded through whipped cream it fills cakes and trifles, and it is the simplest tart filling there is — the small jar that makes a dozen other desserts easier, starting with our Lemon Bars.
Temperature is the whole technique
Egg yolks begin to set around 160°F (71°C) and scramble not far above 180°F (82°C), and lemon curd lives in the corridor between those numbers. The target is 170°F (77°C): hot enough to thicken the yolks into a custard that coats a spoon and holds a line, cool enough to stay silky instead of grainy. A thermometer removes the guesswork, but the spoon test in the steps is reliable too. Stir constantly and scrape the corners of the pan; the edges cook fastest and are where scrambled flecks are born.
Strain, then butter, in that order
Two finishing habits separate glossy curd from merely good curd. First, strain the hot curd through a fine sieve — it catches the chalazae from the yolks, any zest shreds and the one or two flecks that did scramble, and it takes twenty seconds. Second, whisk the butter in off the heat, a few pieces at a time, once the curd is already thick: butter melted into the eggs at the start can split and turn greasy, while butter emulsified at the end gives the curd its sheen and its cool, fudge-like set in the fridge. Vanilla and a pinch of salt go in with the butter — salt especially, which makes the lemon taste more like itself.
Ingredients
- 3 large lemons (about 300 g), for zest and juice
- 1/2 cup fresh lemon juice (120 ml), strained
- 1 tablespoon lemon zest (6 g), finely grated
- 3/4 cup granulated sugar (150 g)
- 3 large eggs
- 2 large egg yolks
- 1/8 teaspoon fine salt (0.75 g)
- 6 tablespoons unsalted butter (85 g), cut into small pieces, cool
- 1/2 teaspoon vanilla extract (2.5 ml), optional
Amounts are for the yield below. US customary measures first, grams in brackets for scale users.
Step-by-step instructions
- Zest and juice the lemons. Wash the lemons well and zest them before juicing — zesting a halved, squeezed lemon is a small misery nobody needs. You want about 1 tablespoon of zest (6 g) and 1/2 cup of juice (120 ml); strain the juice to catch seeds and pulp.
- Whisk eggs and sugar first. In a medium, heavy, non-reactive saucepan — stainless steel, not bare aluminium, which can discolour the curd and add a metallic note — whisk the eggs, yolks and sugar together until the mixture is pale, smooth and slightly thickened. Whisking before the lemon goes in keeps the yolks from being shocked by acid, and smooth eggs now mean smooth curd later.
- Add lemon and set over gentle heat. Whisk in the lemon juice, zest and salt. Set the pan over medium-low heat and stir constantly with a heatproof spatula or wooden spoon, sweeping the bottom and corners of the pan in slow figure-eights. The curd will look thin and foamy at first; do not walk away — this stage takes patience, not effort, and it punishes distraction.
- Cook to 170°F and the spoon test. Cook, stirring without pause, for 8 to 12 minutes, until the curd reaches 170°F (77°C) on an instant-read thermometer and thickly coats the back of a spoon — a finger drawn across it leaves a clean line that holds. Take the pan off the heat the moment it gets there; residual heat will carry it a few degrees further, and overshooting is how curd turns grainy.
- Strain and whisk in the butter. Pour the hot curd through a fine sieve into a clean bowl, pressing it through with the spatula. Whisk in the butter a few pieces at a time, letting each addition melt before the next, then the vanilla if using. The curd will turn glossy and slightly paler as the butter emulsifies — this finish is what makes it taste like a patisserie made it.
- Jar, chill and label. Pour the curd into clean jars or a covered container while warm. Press a piece of wrap directly onto the surface so a skin cannot form, cool to room temperature, then refrigerate for at least 4 hours, where it will set to a thick, spoonable spread. Label the jar with the date.
Nutrition estimate
| Nutrient | Per serving |
|---|---|
| Calories | 96 kcal |
| Protein | 1 g |
| Carbohydrates | 11 g |
| Fat | 5 g |
| Saturated fat | 3 g |
| Sodium | 24 mg |
| Fiber | 0 g |
| Sugar | 10 g |
Nutrition figures are estimates calculated from standard ingredient data for the yield stated. Your actual values will vary with brands, substitutions and portion sizes — treat them as a guide, not a guarantee.
Storage & reheating
Lemon curd keeps in a covered jar in the refrigerator for up to 2 weeks — its flavour is brightest in the first week. It freezes excellently for up to 3 months: freeze in small jars or containers with a little headspace, thaw overnight in the fridge, and whisk briefly to restore the gloss. Never store this curd at room temperature or treat it as shelf-stable; it contains eggs and butter and belongs in the fridge from the moment it cools. If the surface ever smells off, moulds, or the curd separates into liquid, discard it without tasting.
Canning safety — read first
Home canning must follow tested processes exactly. The times on this page follow the structure of current USDA guidance for the stated jar size at 0-1,000 feet elevation; always confirm processing times and altitude adjustments in the USDA Complete Guide to Home Canning or the National Center for Home Food Preservation before you start. Never taste food from a jar with a failed seal, bulging lid or off odor — discard it.
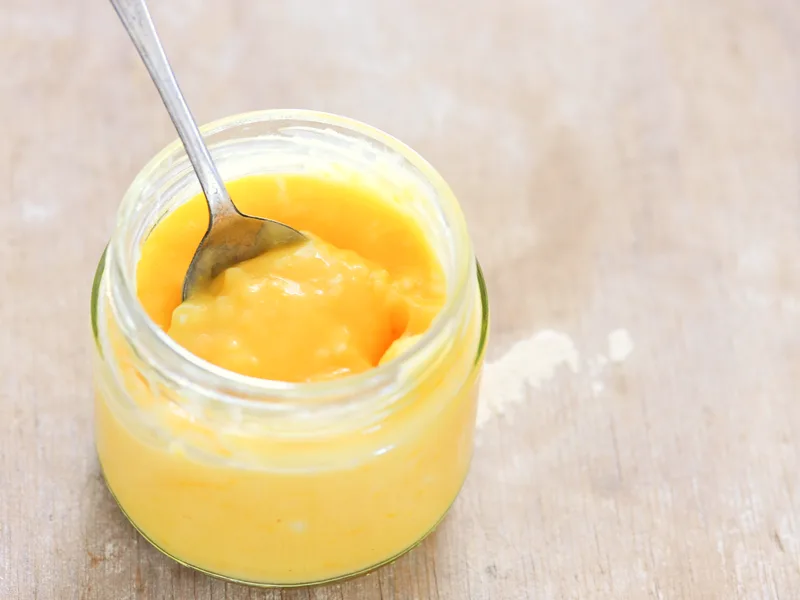
Easy Homemade Lemon Curd
Silky, bright, spoon-standing lemon curd for the fridge and freezer.
Ingredients
Tick ingredients off as you prep, and tap a step below to mark it done as you cook. Scaling adjusts the listed amounts - seasoning to taste stays your call.
Instructions
- Zest and juice the lemons. Wash the lemons well and zest them before juicing — zesting a halved, squeezed lemon is a small misery nobody needs. You want about 1 tablespoon of zest (6 g) and 1/2 cup of juice (120 ml); strain the juice to catch seeds and pulp.
- Whisk eggs and sugar first. In a medium, heavy, non-reactive saucepan — stainless steel, not bare aluminium, which can discolour the curd and add a metallic note — whisk the eggs, yolks and sugar together until the mixture is pale, smooth and slightly thickened. Whisking before the lemon goes in keeps the yolks from being shocked by acid, and smooth eggs now mean smooth curd later.
- Add lemon and set over gentle heat. Whisk in the lemon juice, zest and salt. Set the pan over medium-low heat and stir constantly with a heatproof spatula or wooden spoon, sweeping the bottom and corners of the pan in slow figure-eights. The curd will look thin and foamy at first; do not walk away — this stage takes patience, not effort, and it punishes distraction.
- Cook to 170°F and the spoon test. Cook, stirring without pause, for 8 to 12 minutes, until the curd reaches 170°F (77°C) on an instant-read thermometer and thickly coats the back of a spoon — a finger drawn across it leaves a clean line that holds. Take the pan off the heat the moment it gets there; residual heat will carry it a few degrees further, and overshooting is how curd turns grainy.
- Strain and whisk in the butter. Pour the hot curd through a fine sieve into a clean bowl, pressing it through with the spatula. Whisk in the butter a few pieces at a time, letting each addition melt before the next, then the vanilla if using. The curd will turn glossy and slightly paler as the butter emulsifies — this finish is what makes it taste like a patisserie made it.
- Jar, chill and label. Pour the curd into clean jars or a covered container while warm. Press a piece of wrap directly onto the surface so a skin cannot form, cool to room temperature, then refrigerate for at least 4 hours, where it will set to a thick, spoonable spread. Label the jar with the date.
Recipe by Ahsan ul Haq · FryDaily. Printing? This card is designed to print cleanly on its own.